We’ve all got an old, scruffy and stained cheese board somewhere in the pantry right? Make a sustainable choice and learn how to restore old wooden cheese boards with our tips. Read on to find out what tools you will need, and discover the simple steps that will recondition and rejuvenate your favourite board.

SEE ALSO: How to clean and disinfect your favourite cheese board →
What you will need
- Lint-free microfibre cloth
- Vinegar
- Coarse salt
- Half a lemon
- Sandpaper: coarse (80 grit), medium (120 grit) and fine (220 grit)
- Wood butter
Step 1 – Clean and disinfect
Before you get into the nitty gritty of restoring your old board, you need to make sure that it is sanitised and safe to use. Start by wiping it down with a lint-free cloth that has been dipped in vinegar.
Did you know that vinegar has been demonstrated to have antibacterial and antifungal effects? Due to this, it is a great natural disinfectant.
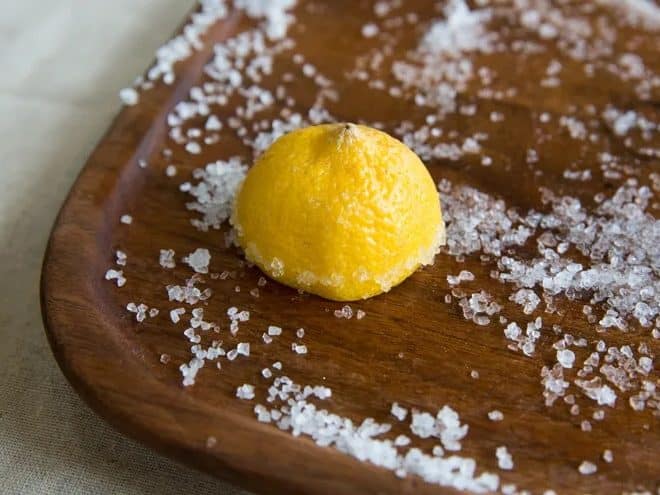
Afterwards, rinse your board thoroughly with warm water and wipe it dry. Next, sprinkle the coarse salt onto the board and scrub it in using half a lemon. You are actually doing two things at once here. Indeed, the coarse salt helps work out the grit and the lemon’s bioactive compounds act as an antibacterial.
Once you have done this all over the board, wipe it dry with a cloth.
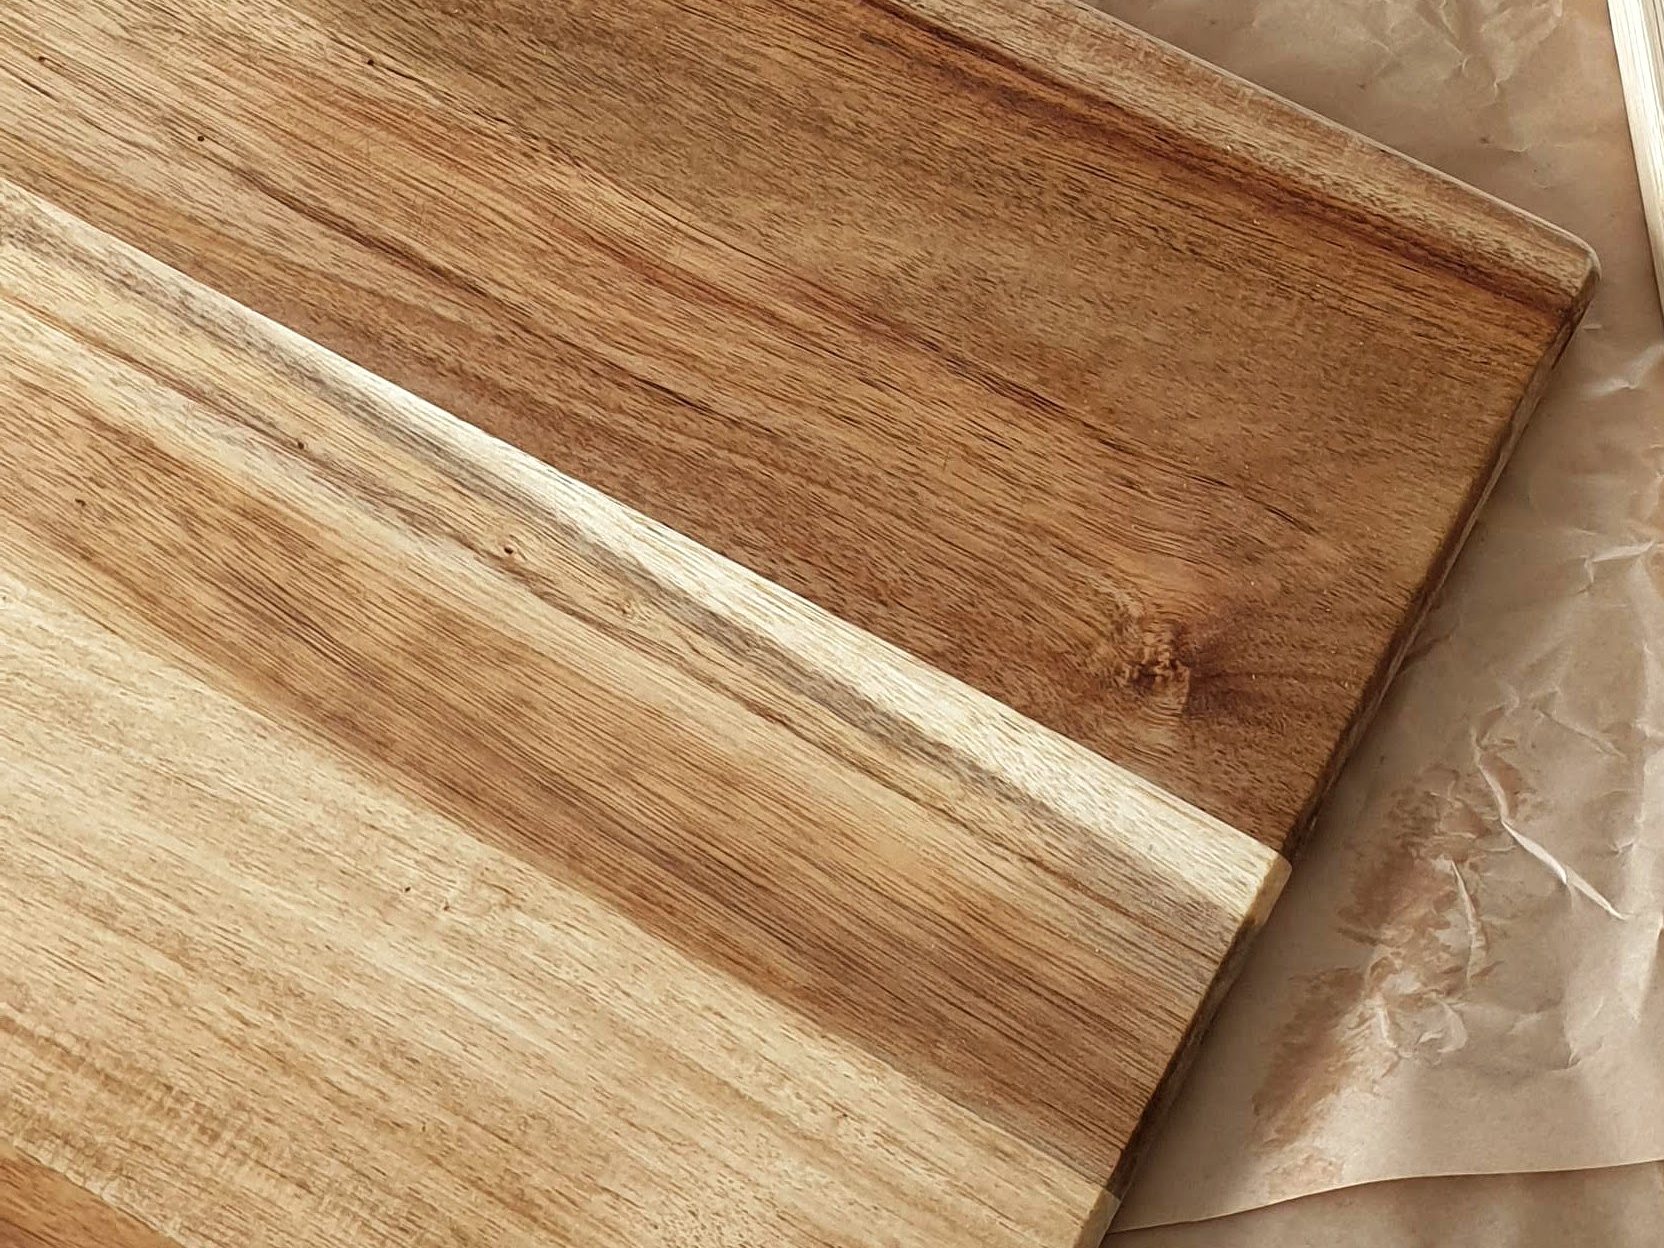
Step 2 – Sand down board
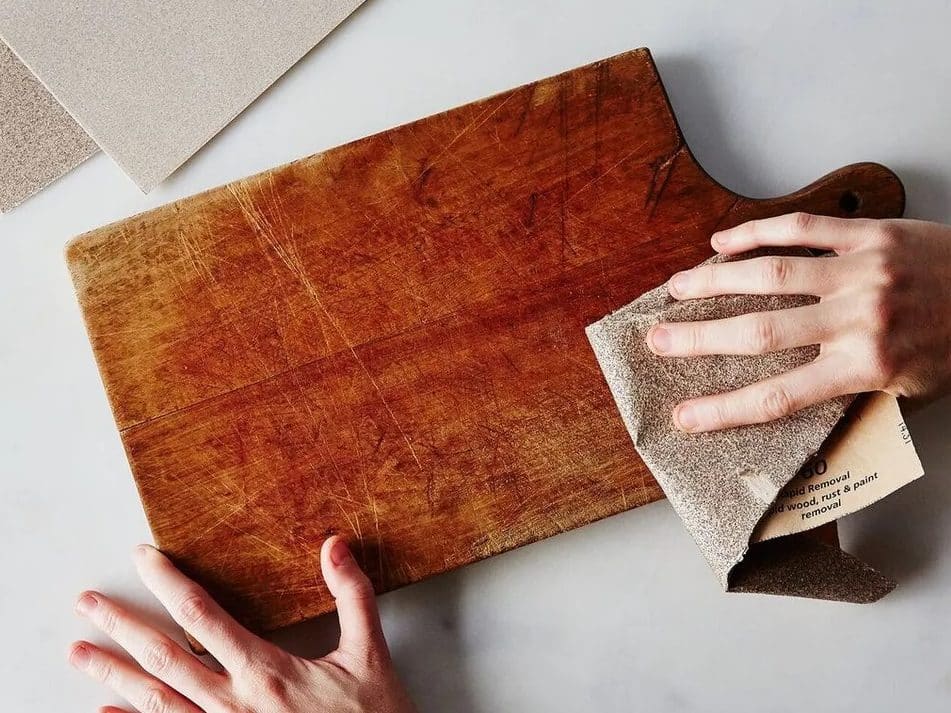
You now have a clean, sanitised board and you are ready for our second step. All you will need here is the three grades of sandpaper and a little bit of elbow grease.
Starting with the coarser 80 grit sandpaper, sand your cheese board along the grain to remove any deep cuts and stains. Once you have done the entire surface, wipe the board with a damp microfibre cloth.
Let the board dry completely before repeating the process with the 120 grit sandpaper. And then once again with the 220 grit sandpaper. At this point, you will have a board that looks much lighter in colour than your original board. No need to worry, we are not done yet.
Step 3 – Apply wood butter
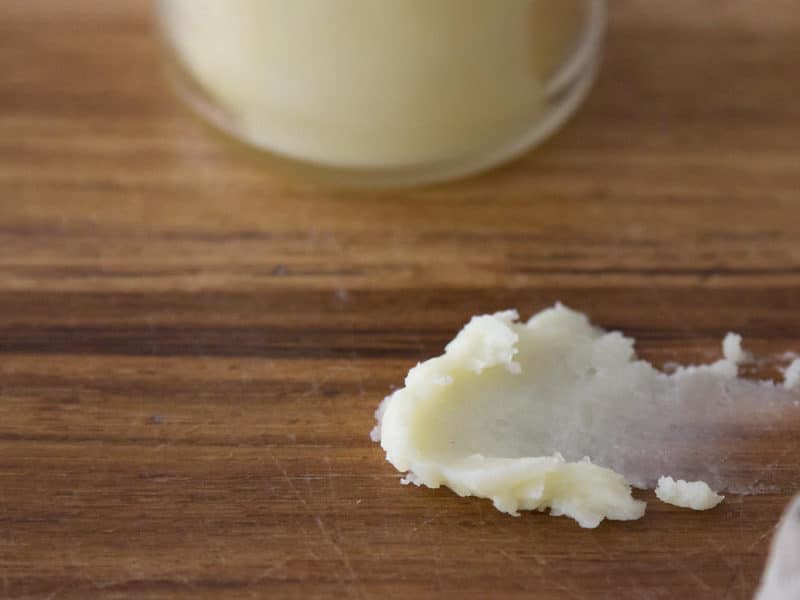
Step 3 is where the magic actually happens! Using a clean, dry microfibre cloth, rub your wood butter into the board until the entire surface is covered. Be sure not to forget the edges and the back.
Once this is done, leave the board to rest for 2 hours. Then, buff the entire board with a clean cloth to remove any residual surface oil. Your board should now feel nice and smooth with no sticky bits. And it should have its gorgeous shine back!
Step 4 – Maintain your cheese board
You can give yourself a little pat on the back now. You’ve done a great job restoring your old wooden cheese board instead of throwing it out and buying a new one.
But, the process does not end here. You want to keep your board shiny and smooth right? So, make sure that you gently scrub the board with warm soapy water after each use and wipe it completely dry before putting it away.
Finally, you will want to reapply the wood butter once a month to maintain the condition of the surface.
Extra step – Make your own wood butter
Can’t find wood butter? Or do you simply want to take things to the next level?
You can make your own wood butter! All you need is equal parts beeswax and mineral oil (liquid paraffin). Place 50 g of beeswax in a large glass jar and let it sit in a pan of simmering water.
Once the beeswax has melted, add in 50 ml of mineral oil and stir until combined. All you have to do now is remove it from the heat and allow the jar to cool. Et voilà! You’ve got yourself some DIY wood butter!
More than just cheese boards
We’ve used cheese boards as an example here because we are The Cheese Wanker after all. But this entire process will work for any chopping board. And you can also restore wooden spoons and other wooden kitchen utensils using the same 4 steps.
If you’ve given our method a go to restore your old wooden cheese board, we’d love to hear from you. Did you make your own wood butter? Drop us a comment below.